We moved!
Help articles have been migrated to the new Help and Support. You can find help for your products and accounts, discover FAQs, explore training, and contact us!
The following procedures explain how to work with the Layout Designer to define how your text and data variables will display on your payroll checks, vendor checks, and payroll forms when you print them.
Choose File > Layout Designer to open the Layout Designer screen.
Selecting objects (text, variables, or graphic elements)
To size, align, move, copy, or delete objects in the Layout grid, click the object and then perform the desired operation. When an object is selected, it has a shaded border around it with solid white sizing handles that appear on the corners and mid-lines of the border.
To select multiple objects in the Layout grid, hold down the CTRL key while you click each object. When objects are selected sequentially in the Layout grid, the last object selected appears with white sizing handles and becomes the dominant object; objects selected previously in the sequence appear with black sizing handles.
Notes
- You can choose Edit > Select All to select all objects in the selected Layout; to deselect, click an empty area in the Layout grid.
- Use the options from the Format menu to further customize selected elements in the Layout Designer grid.
Inserting a text box
- Click the Text section of the Design Tools frame in the Layout Designer workspace.
- Drag and drop the Text Box icon from the Text section of the Design Tools frame to a location in the Layout Designer grid or, choose Insert > Text Box and click the location in the grid to insert the text box.
- With the text box selected, move it to an appropriate location in the layout.
- Enter text in the text box.
- If necessary, you can select the text and drag it to a new location, or use the toolbar buttons to align or re-position the text.
Note: Use the Text Formatting section in the Design Tools frame to modify the font, size, style, color, and the horizontal and vertical alignment of the text. Click the More text options link to open the Text dialog to select and apply further formatting changes to the text.
Inserting and resizing repeating regions
- Choose Insert > Region > Repeating Region to enable the precision pointer
 , and then drag the pointer across a region in the layout design grid that you want to designate as a repeating region.
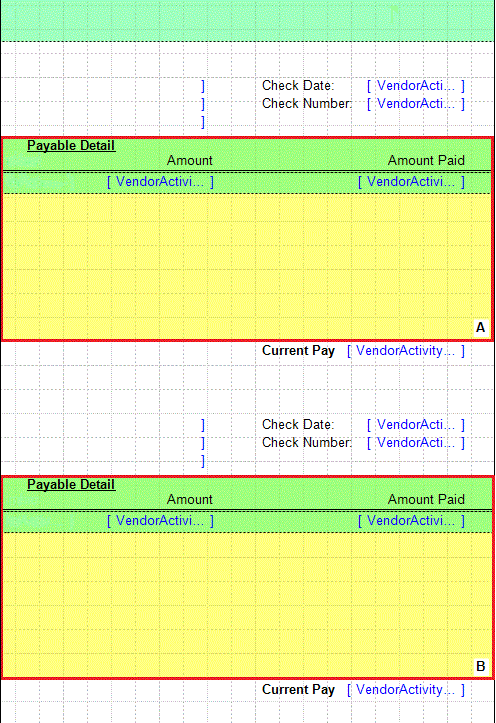
The following layout example illustrates two repeating regions A and B that are outlined with a red border in this example for emphasis.

- Click the Pointer Tool
 button in the toolbar to disable the precision pointer and enable regular mouse pointer behavior.
 - You can resize the existing repeating regions by selecting one of the sizing handles attached to the region and dragging it to resize as necessary.
- Click the Print Preview
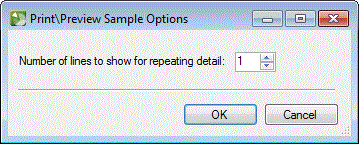
 button in the toolbar to open the Print/Preview Sample Options dialog.

- Select the number of lines of repeating detail that you want to display, and then click OK to preview the layout.
Inserting variables
- Choose Insert > Variable or click the Variables section header to open it in the Design Tools frame.
- Choose the type of variable that you want to insert into the Layout grid from the tree view and double-click or drag and drop the selected variable onto the grid. Note that you can only select one variable at a time to insert into the grid.
- With the variable selected, move it to an appropriate location in the Layout grid.
- Repeat steps 1 and 2 to insert more variables into the Layout grid.
Aligning text, variables, or other objects
- Select the objects you want to align.
- Make sure the correct dominant object is selected. The last object you select is the dominant object, and the final position of the group of objects depends on the position of the dominant object.
- Choose Format > Align Elements and then choose Left, Center, Right, Top, Middle, or Bottom.
Was this article helpful?
Thank you for the feedback!


