


Users that have access to any Microsoft Office applications in the Virtual Office CS or SaaS environment will have the ability to use the program to move files similar to using Windows Explorer.
- In the NetStaff CS tab of the navigation pane, click the Applications link.
- Click the icon for Word or Excel to follow these steps.
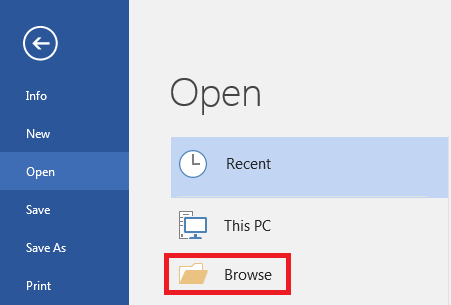
- In the Microsoft Office application, click the File tab in the ribbon and choose Open > Browse.
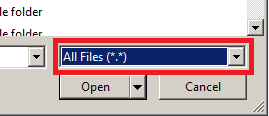
- In the lower right corner of the Browse window, select All Files (*.*) from the drop down menu.
- In the navigation bar on the left side of the Open dialog you can Expand ‘Computer’ to navigate to files in Virtual Office or on your local computer.
Note: In the Virtual Office CS or SaaS environment, C$ on Client (V:) is your local C:\ drive. For more information on default data locations on Virtual Office CS or SaaS, see Virtual Office CS or SaaS drive mappings and default locations.
- Navigate to the folder or files that you want to move.
- Highlight individual folders or files (Note that you can also hold down the CTRL key and click individual files to select them.) Or you can press CTRL+A on your keyboard to select all.
- Press CTRL+C to copy the file(s).
- In the navigation bar on the left side of the Open dialog, navigate to the location where you want to place the files. Note that the Y Drive on VO/SaaS is labeled as wincsi(<share>\Firm#)(Y:)
- Click in the File list pane on the right and press CTRL+V to paste the files to the new location.
- When you are done, click Cancel to close the Open dialog.
Related topics:
Accessing local network drives through applications that run in Virtual Office CS or SaaS
Was this article helpful?
Thank you for the feedback!

|
Get the most out of your Thomson Reuters Tax & Accounting products. Our continued learning packages will teach you how to better use the tools you already own, while earning CPE credit. Learn more. |

|
|

|
Chat - Best option for simple questions Call us at +1 800 968 0600. You might like to see our hours and menu options before calling |