


Practice CS utilizes 5 Separate tools to help organize data and information These tools are: Sort, Group, Search, Filter, and Field Chooser. Knowing how these tools work will improve efficiency and accuracy when you are trying to retrieve specific information from Practices CS.
Throughout Practice CS, various combinations of the 5 organizing tools detailed below are available to assist in your work.
Important! Some areas of Practice CS may utilize some but not all of these tools. For instance, the Project Management screen makes use of all 5 of the tools, but the Time and Expense Entry Overview Screen only utilizes Filtering, Grouping, and Sorting.
Searching
The Search field allows you to find specific items by searching for text.
Click the drop-down menu in the Search field to set the parameters of the search and optimize the results.
- Recent Searches - Displays a list of the most recent search terms used for quick selection.
- Exact - Returns results that have words that match exactly to your search term
- Begins with - Returns results that have words that match exactly to your search term or the beginning of the word matches your search term.
- Contains - Returns results that have words that contain your search term in any portion of the word.
- Ends with - Returns results that have words that contain your search term at the end of the word.
- Search Fields - Lists the fields that your search will look through. If a field is not checked, the search will not look through the words in that field.
- Restore Defaults - Restores the options in this menu to the original defaults.
Once the search parameters are set, enter your search term and click the magnifying glass. 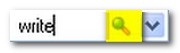
Click the red X to clear the search results. 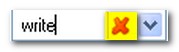
Note: It is not necessary to clear the search results before entering your next search term into the search field.
Filtering
Filtering allows you to narrow down the data on the screen to include only data that fits within your filter criteria.
To view the filter field, click the chevrons next to the search field. If the chevrons are pointing down ![]() the filter will be hidden. If the chevrons are pointing up
the filter will be hidden. If the chevrons are pointing up ![]() the filter will be visible.
the filter will be visible.
In the filter drop-down, select the attribute you want to filter for.
Note: The attributes available in the filter drop down will be different depending on what screen you are on.
After selecting the attribute to filter for, select the method from the next drop-down menu.
The next drop-down will depend on which method you choose.
- is
- is not
- is greater than
- is greater than or equal to
- is less than
- is less than or equal to
Other methods include:
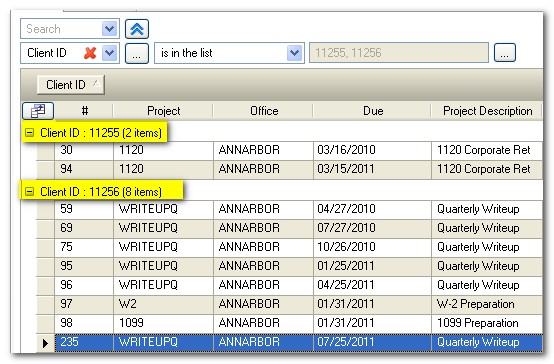
- is in the list - filter for items selected from a list.
- is in the range - filter for all items within a set range.
- is in the filter - utilize a custom filter
For more information on creating custom filters, see Filtering your data.
Grouping
Grouping can be done on any data screen that contains the gray bar at the top stating "Drag a column header here to group by that column."
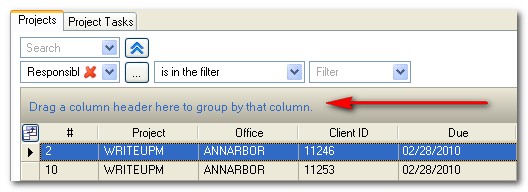
To group by any column header, click and drag the column header to the grouping bar and drop it there.
Once grouped, the data grid will list each group with the number of items in that group.
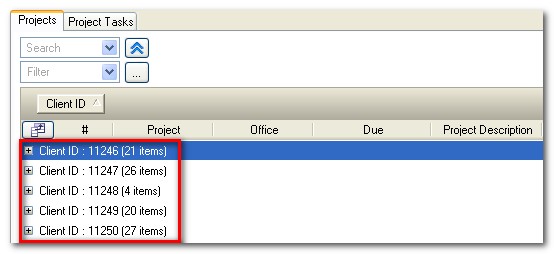
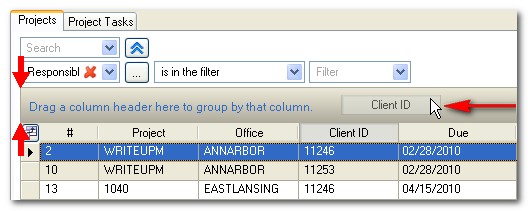
Note: Since the data is being grouped by Client ID, there is no longer a column named Client ID and the Client ID header shows in the grouping bar.
To view the items in each group, click the ![]() in front of the group to expand. The result will be a list of items in that group.
in front of the group to expand. The result will be a list of items in that group.
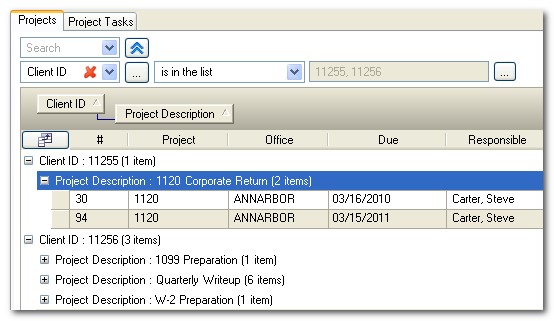
To group by multiple headings,click and drag additional column headings to the grouping bar.
To remove groupings, click and drag each heading back down to the heading bar.
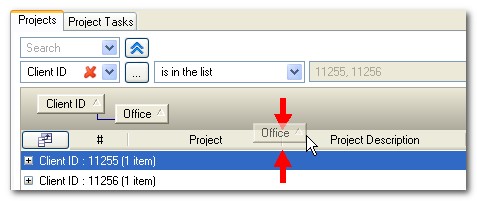
Note: You can place the heading anywhere on the heading bar. Red arrows will indicate where you will place the column once you release it. In the screen shot below, we are placing the Office heading in between the Project and Project Description columns.
Sorting
Sorting can be used to sort columns by amount, date, or alphabetically. To sort, click the column header that you would like to sort by.
When sorting a column you will see a black arrow in the header indicating what direction the column is being sorted (highest to lowest, earliest to latest, etc.).
The following screenshots illustrate sorting a date column oldest to newest, then newest to oldest, and then removing the sort.
First click sorts oldest to newest 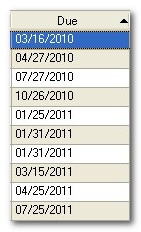 Second click sorts newest to oldest
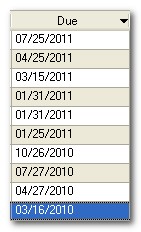
Third click removes the sort 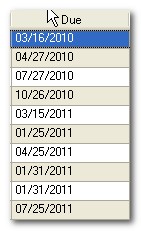
Field Chooser
To select which columns display, click the field chooser button. ![]()
Once the field chooser is open, select which fields you would like to display.
Was this article helpful?
Thank you for the feedback!

|
Get the most out of your Thomson Reuters Tax & Accounting products. Our continued learning packages will teach you how to better use the tools you already own, while earning CPE credit. Learn more. |

|
|

|
Chat - Best option for simple questions Call us at +1 800 968 0600. You might like to see our hours and menu options before calling |