
Checkpoint Engage setup
 Show expandable text
 Hide expandable text
First time users licensed for Checkpoint Engage: When you open the Checkpoint Engage project in Onvio for the first time you are prompted to enter your Checkpoint Engage username and password and confirm that you have read the license agreement in the Checkpoint Engage Credentials panel.
- Create a new project or open an existing one from the Projects screen.
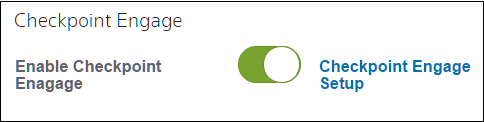
- In the Settings tab, click the Enable Checkpoint Engage switch. Show me
- Click the Checkpoint Engage Setup link, choose the Setup the engagement option and click Continue.
- Step 1: Industry – Select the industry source, engagement type, and industry, and then click Next.
- Step 2: Audit Areas – Mark the checkboxes next to audit areas to include in the engagement, and click Next.
Notes
- You can edit the name of any audit area in the list.
- You cannot remove audit areas that have a question mark
 next to them from the Checkpoint Engage project due to associated risks.
- Step 3: Setup Questions – Select the appropriate answers for the setup questions and click Done.
- Click Close when the process is complete.
- Open the newly created engagement in the Binder tab to return to Onvio.
- Click a workpaper name to open the Checkpoint Engage workpaper in a separate tab of your browser.
Contact us
Call 800-968-0600
Was this article helpful?
Thank you for the feedback!