


We moved!
Help articles have been migrated to the new Help and Support. You can find help for your products and accounts, discover FAQs, explore training, and contact us!
With Employee Self-Service, your accountant can upload check stubs and W-4 information to an employee portal. Your employees can then log in to view, edit, and print their information.
Customer service article - Internal: Employee Self-Service
Employee information that is uploaded and downloaded via the employee portal
Notes
- If there is a date in the Inactive date field in the Main tab of a client record, the application will not send W-2 information to that client's employee portals.
- The application uploads only payroll checks that were entered after the employee's Employee Self-Service portal was enabled. If the check stubs include a year-to-date section, that section will include all payroll history, even if the checks are not on the portal.
Employee information that is uploaded to the employee portal
The following employee information is uploaded from Accounting CS to the employee portal.
- New or updated employee W-4 information. This includes login information used for portal creation and for disabling Employee Self-Service for an employee.
- Changes to the status of uploaded employee checks (void or delete).
- New handwritten payroll checks
Notes
- Existing handwritten payroll checks and historical checks are not uploaded to the portal.
- If a handwritten check has been uploaded to the client's portal but was generated as an historical check, the application will remove that check from the portal.
This information is uploaded and immediately available when any of the following occur:
- Payroll checks are printed for at least one client .
- W-2 forms are printed for at least one client .
- 1095-C forms are printed for at least one client .
- An employee's W-4 information is changed and the employee record is saved.
- This includes the employee name, EIN/SSN, address, and W-4 information on the Payroll Taxes tab of the employee.
Employee information that is downloaded from the employee portal
New or updated W-4 information entered by the employee in the employee portal is downloaded to Accounting CS when either of the following occur:
- The Setup > Employees screen is opened.
- The client's payroll schedule is selected in the Actions > Enter Batch Payroll Checks screen and the Actions > Enter Batch Handwritten Payroll Checks screen.
Notes
- In all of the situations above, information is uploaded for all of the client's employees, whether or not all employees are included in the selected action. For example, if a new employee is added but that employee is not included in the check run, the employee's information is still uploaded during the check printing process.
- If the client changes the address information in the application, the application verifies that the address information is valid. (For example, the application will verify that the city exists in the selected state, that the zip code is valid for the city, and so forth.) If the application finds that any of the information is not valid, it will revert the address to the previous valid address, and you will be prompted to correct the address information in the employee record.
Activating employee portals
This procedure is to be performed by the client's employees.
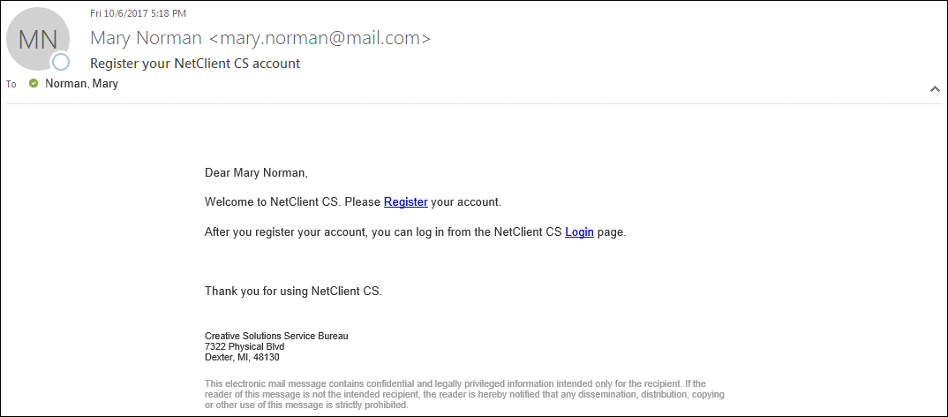
After the employee receives the registration email, they can activate their Employee Self-Service account as follows.
- Open the registration email and then click the Register link in the message. Show me.
- In the NetClient CS page, enter a unique ID and password to use as your Employee Self-Service login. (The password must be between 7 and 50 characters, and at least one character must be a number.) Show screen.

- Click OK. NetClient CS verifies the employee's credentials and completes the activation.
- The NetClient CS login page opens. The employee can access their Employee Self-Service portal by entering their login and password information and then clicking the Login button. Show screen.
Notes
- If the employee already has a portal, you can link the portals together.
- If the employee has 10 unsuccessful login attempts, the application locks their account for 30 minutes, after which the employee can try again. If the employee needs to access their account before the 30-minute lock-out period ends, you can ask a Web Services Support representative to unlock the account for your client's employee.
- If the employee forgets their password, they can click the Forgot password link on the login screen, enter their login and email address, and choose the reset method (via email or via security questions).
- If the employee cannot remember their login information, they can contact their accountant.
Viewing or editing an employee's W-4 information
This procedure will be performed by the client's employees.
Once the employee activates their Employee Self-Service account, they can log in anytime to view or modify their W-4 information.
The employee can view the following information.
- Type (Standard, Agricultural, Household, Independent Contractor)
- Resident address (street address, city, ZIP code, county, country, etc.)
- EIN / SSN
The employee can modify the following information.
- Name (first, last, middle initial, suffix)
- Email address
- Federal W-4 information (filing status, amounts claimed for dependents, other income, and deductions, nonresident alien status, federal tax-exempt status, etc.)
- State W-4 information for each applicable state (filing status, number of allowances, additional or fixed amount or percentage, etc.)
The employee can follow these steps to edit their W-4 information.
- Log in to the Employee Self-Service account through https://secure.netlinksolution.com/nextgen.
- Click the My W4 Information portlet to view and edit W-4 information.
- Make any necessary changes, and then click the Enter button.
Note: The fields reflect those on the 2020 Form W-4. All employees hired as of January 1, 2020, must fill out the new version of the Form W-4. Any changes to W-4 information for existing employees must be done on the new version of Form W-4.
- When you open the Enter Batch Payroll Checks screen or the Enter Payroll Checks screen, you will be prompted to accept or reject the changes the employee made in their portal.
Viewing an employee's check stub information
This procedure will be performed by the client's employees.
The application automatically uploads a PDF of the check stub to the employee portal when the employee's paycheck is printed or when a handwritten paycheck is entered and saved. (The PDF image for uploaded checks will not include the actual check region.)
If you void or delete an employee's paycheck that has already been uploaded to the employee's portal, the application automatically queues the check deletion to be uploaded to the employee's portal.
Once the employee activates their Employee Self-Service account, they can log in anytime to view or print their paycheck stub information.
- Log in to the Employee Self-Service account through https://secure.netlinksolution.com/nextgen.
- Click the My Check Stubs portlet to view a list of uploaded paychecks.
- Select the paycheck to view or print.
Viewing an employee's W-2 form
This procedure will be performed by the client's employees.
To view an employee's W-2 form, see Viewing W-2s.
Notes
- Corrected W-2 forms (Forms W-2c) are not uploaded to the employee portal.
- If there is a date in the Inactive date field in the Main tab of a client record, the application will not send W-2 information to that client's employee portals.
Viewing an employee's (independent contractor's) 1099-NEC form
This procedure will be performed by the client's employees.
To view an independent contractor's 1099-NEC form, see Viewing Forms 1099-NEC.
Viewing an employee's 1095-C form
This procedure will be performed by the client's employees.
To view an employee's 1095-C form, see Viewing 1095-C forms.
Changing an employee's login information
This procedure will be performed by the client's employees.
You can change your login ID, email address, and password at any time.
- Log in to your Employee Self-Service account through https://secure.netlinksolution.com/nextgen.
- Click your name in the upper-right corner of the screen, and then choose the appropriate command.
- To update your login ID, name, or email address, choose Edit Account.
- To update your password, choose Update Password.
Was this article helpful?
Thank you for the feedback!