


Warning
Product support for the Creative Solutions Accounting platform ended on September 30, 2020.
Help & How-To Center content for the Creative Solutions Accounting platform may be outdated and is used at your own risk.
To set up the client's Chart of Accounts to include and maintain location and/or department information, you must first make sure the Chart of Accounts mask has been defined to accommodate locations and/or departments. Then, when the Chart of Accounts window is active, you may enter location and/or department descriptions by selecting Enter Location and Department Descriptions from the Edit or the right-click context menu. Or, from the Create Locations and Department dialog, you may click the Enter Loc/Dept Descriptions button.
Once the departments and locations have been named, you can use the Create Locations and Departments dialog to add them to the Chart of Accounts. The application automatically creates accounts for each location/department combination and assign them to the combining accounts.
For a multi-department or multi-location client, you need to set up combining accounts that the application can use as a place to accumulate (and from which to report) consolidated totals.
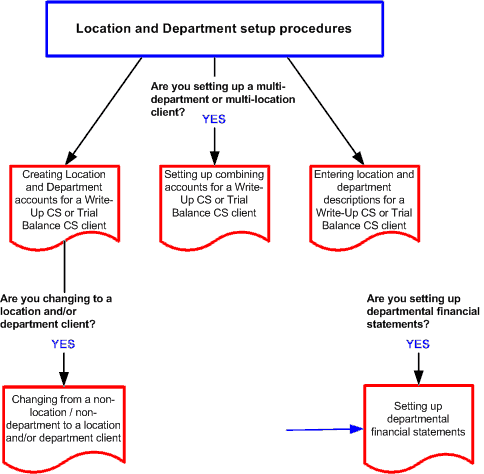
You can use the following flowchart to guide you through the process of setting up Locations and/or Departments for your client.
See also: CSA Guide to Working with Location/Department Clients (PDF)
![]()
Was this article helpful?
Thank you for the feedback!