We moved!
Help articles have been migrated to the new Help and Support. You can find help for your products and accounts, discover FAQs, explore training, and contact us!
Accounting CS enables you to segmentize (a method to create account code variants from existing core account numbers) multiple accounts via the Edit Multiple Accounts dialog in the Setup > Chart of Accounts or Actions > Enter Trial Balance screens.
- From the Setup > Chart of Accounts or Actions > Enter Trial Balance screen choose Edit > Edit Multiple Accounts.
- In the Edit Multiple Accounts dialog, select Segmentize accounts from the Information to edit field, and then click Enter to open the Segmentize Accounts dialog.
- Click the Ellipsis
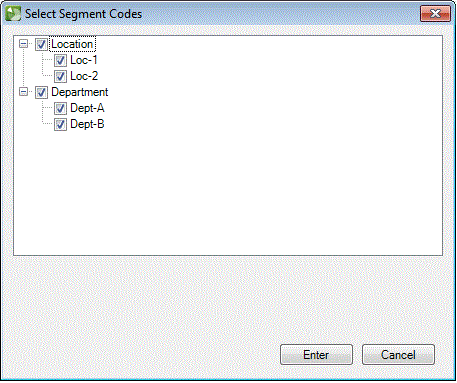
 button next to the Segment codes field to open the Select Segment Codes dialog.
 - Mark the checkboxes next to those segments to apply to core accounts and click Enter to return to the Segmentize Accounts dialog.
- Click the Apply button to display and review a list of segmented account variants in the Account grid prior to committing the changes (step 7).
- If necessary, mark the checkbox in the Skip column next to segmented variants that you do not want to create.
- Click Enter to create the new accounts in the account grid.
- If necessary, change the filter at the top of the dialog and repeat steps 3-6 to segmentize another batch of accounts, or click Done to close the Segmentize dialog and return to the main screen.
Notes
- Only those accounts that are currently displayed in the Accounts grid are updated when you click the Enter button to apply an update. This is also true when a filter is applied via the Filter field at the top of the dialog.
- You can filter the accounts that are displayed in the Segmentize Accounts dialog by using the filter at the top of the dialog. For information about filtering data in screens, see the Searching and filtering data procedure.
- The application creates new segmented accounts only; it does not modify or renumber existing accounts during this process. Example
- Balances and transactions that exist in the core account remain in the core account after it has been segmentized. To move account balances to a new segment (for example, 101 to 1-101), you must use the merge accounts option.
Was this article helpful?
Thank you for the feedback!


