We moved!
Help articles have been migrated to the new Help and Support. You can find help for your products and accounts, discover FAQs, explore training, and contact us!
For payroll compliance (annually licensed)
Use the Process Internet/Magnetic Files screen to create and manage internet and magnetic files processed via payroll tax form printing or agent check printing.
Choose Actions > Internet/Magnetic Files.
Notes
- To filter the data that is displayed in the grid, use the filter at the top of the screen.
- To print a transmittal worksheet, open the Manage Files dialog, select the form, and then click the Preview Selected button with the format set to Report.
- If the client data you expected does not display in the screen, refer to No data displays in the Process Internet/Magnetic Files screen.
Fields & buttons
You can filter the data that is displayed on this screen by using the filter. For information about filtering data in screens, see the Searching and filtering data procedure.
The grid displays all pending internet or magnetic files. Use the filter to display fewer files, if necessary. The top level of the grid displays the jurisdiction, form, period end date, and the number of clients listed in each batch file. Click the plus sign next to the jurisdiction to display the client ID, client name, and the payment effective date for each client that has been processed for that jurisdiction, form, and period combination. Mark the checkbox next to a jurisdiction to select it.
Click the Preview Selected button to open the Output File Preview dialog (if you have selected Report format) or the File Viewer dialog (if you have selected Agency format) to view the selected files.
(Available only when Report is selected as the file format.) Marking this checkbox causes the application to create separate reports for each client when they are previewed or printed, so that they can be sent to client-specific FileCabinet CS drawers.
Click this button to open the Manage Files dialog, where you can preview, recreate, or remove internet or magnetic files.
The File Location for internet or magnetic files is listed at the bottom of the screen. This location can be modified only by choosing Setup > File Locations and modifying the location in the File Creation tab.
Click the Transmitter Information button to open the Transmitter Information dialog, where you can enter both general and jurisdiction-specific transmitter information.
Click the Remove Selected button to remove the currently selected files or clients.
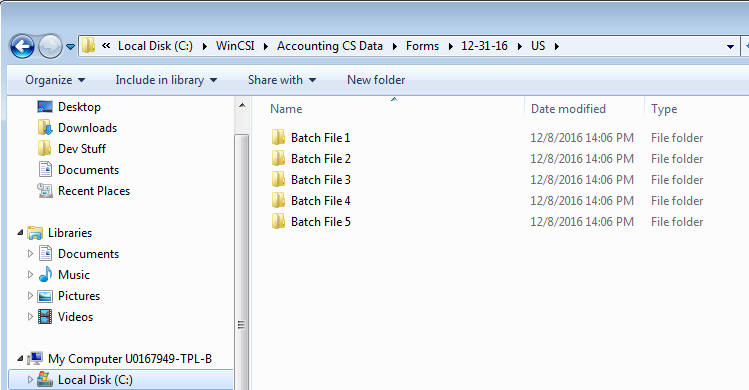
Click the Create Files button to create files for the selected jurisdictions and forms. The application creates the files in a subfolder (based on batch number) in the file location listed at the bottom of the screen.
It also displays them in the Manage Files dialog, where you can preview, recreate, or remove them if necessary.
This button is inactive when there are no files selected or when the Require internet/magnetic file creation from file preview checkbox is marked in the Preferences tab of the Setup > Firm Information > Firm screen.


